Mr. Electric explains how to identify a faulty light switch and what steps to take for safe troubleshooting.
|
Yes, light switches can (and do) fail eventually. If your lights flicker, your switch doesn’t work or feels hot, or you hear audible popping or cracking when flipping the switch, it’s likely time for a replacement. This blog will help you understand why light switches fail, what signs to look for, and the next steps. Let’s shed some light on your switch!
Why Do Light Switches Go Bad?
Like most electrical components, switches aren’t built to last forever. Over time, wear and tear, electrical faults, or even improper installation can all lead to switch failure.
The switch mechanism has moving components, such as the rocker or toggle, that physically interact with internal electrical connections to complete the circuit. These parts are subjected to constant use, which can degrade performance over several years.
As these components wear down, the connections inside the switch can loosen, which prevents the switch from reliably completing the electrical circuit. The result may be inconsistent operation (the switch doesn’t fully turn on or off) or flickering lights.
Additionally, plastic parts within the switch that help insulate electrical components can crack or become brittle over time. As internal parts are exposed to potential damage, the risk of a short circuit increases.
Most modern light switches can function smoothly for years or decades. So, if you’re living in an older home, your switches might be past their prime. While a faulty switch may seem harmless, it could be a symptom of a much larger electrical issue hiding behind the wall.
Signs to Watch: How to Tell If a Light Switch Is Bad
If a new lightbulb doesn’t fix the flicker, the issue is likely within the switch itself. These indicators will help you tell if a light switch is bad and needs repair or replacement:
Flickering or inconsistent lighting
If the light flickers, test the bulb in another fixture. If the flickering stops, the problem is likely in the switch itself. Loose connections inside the switch can lead to intermittent power flow and cause flickering.
Noisy operation
Buzzing, clicking, or popping noises when the switch is in use may indicate arcing—when electricity jumps between contacts instead of flowing smoothly. If you hear any of these sounds, the switch needs to be replaced.
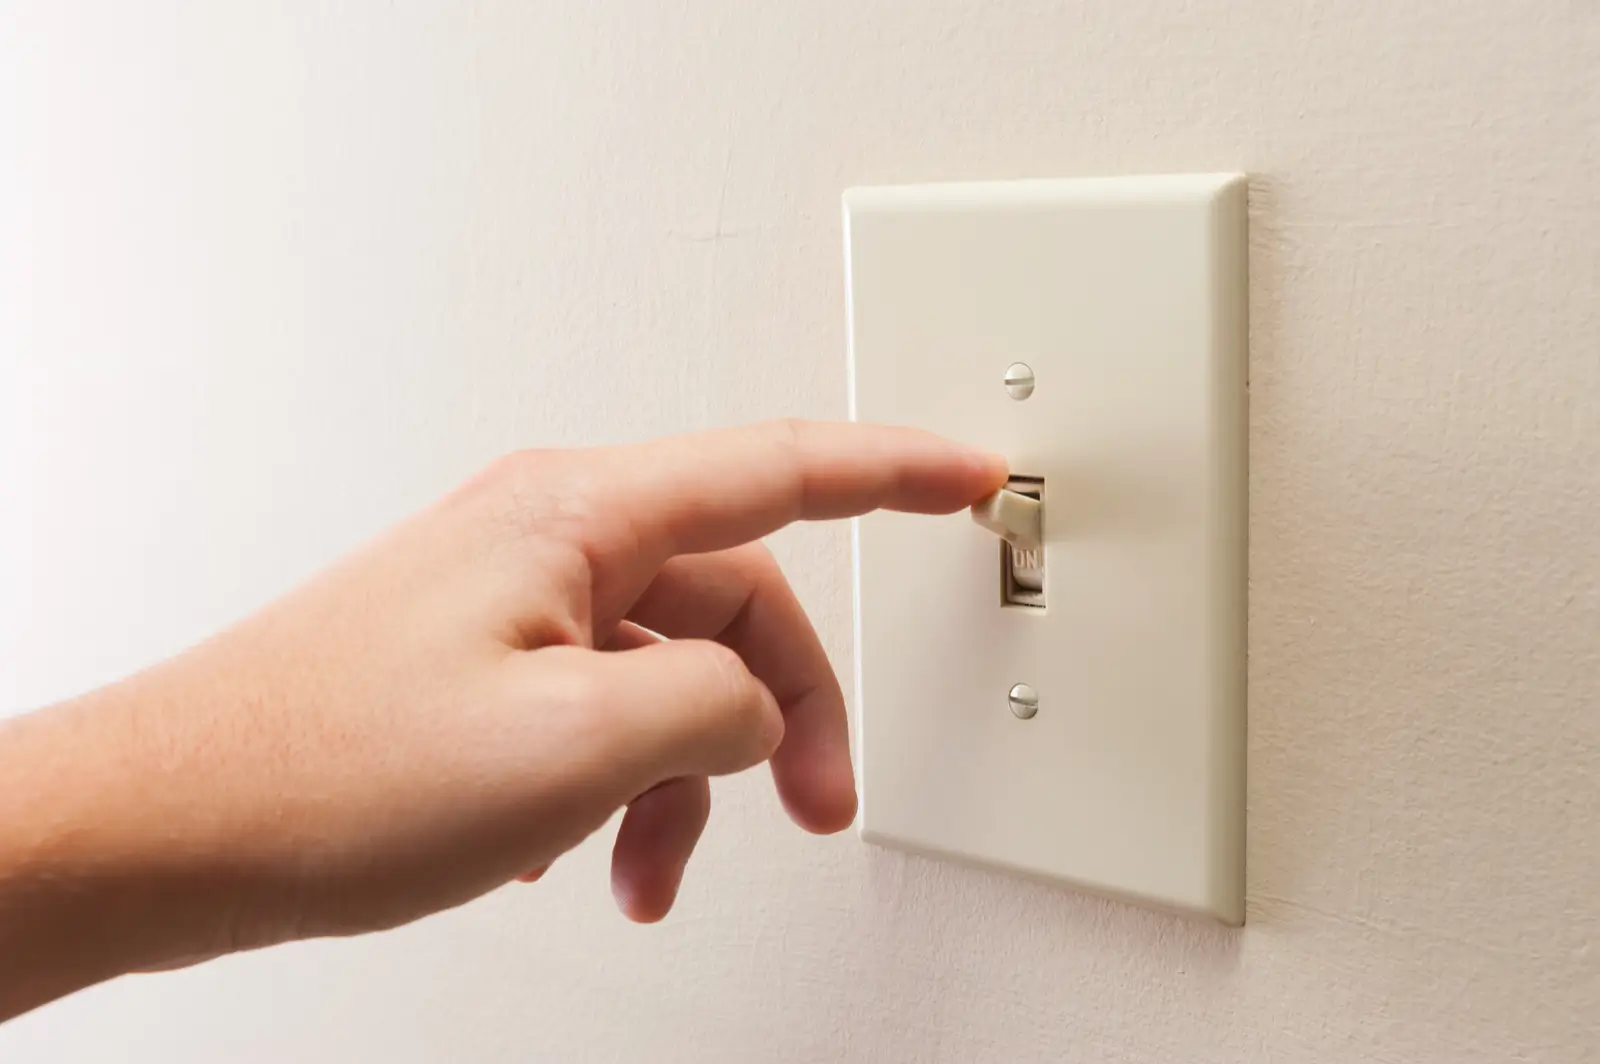
Warm or hot switch plate
Dimmer switches normally become slightly warm after being on for a while. However, a standard toggle switch should remain cool. If a toggle switch feels warm to the touch, the internal components are likely struggling, and replacement may be necessary.
Lights don’t turn on
If the light doesn’t respond to the switch, but the bulb is fine and the breaker isn’t tripped, a faulty switch is the likely culprit.
Physical damage or loose movement
Cracks, discoloration, or a loose toggle are all indicators that your switch may have taken one too many flips.
Safe and Sound: How to Test a Light Switch

Before replacing anything, it’s important to confirm the issue. Here’s how to test a light switch safely:
Tools You’ll Need:
- A non-contact voltage tester
- A screwdriver
- A multimeter
Steps:
-
Turn off power at the breaker box. Turn off the power to the switch at your circuit breaker panel and ensure it’s off using a non-contact voltage tester at the switch.
-
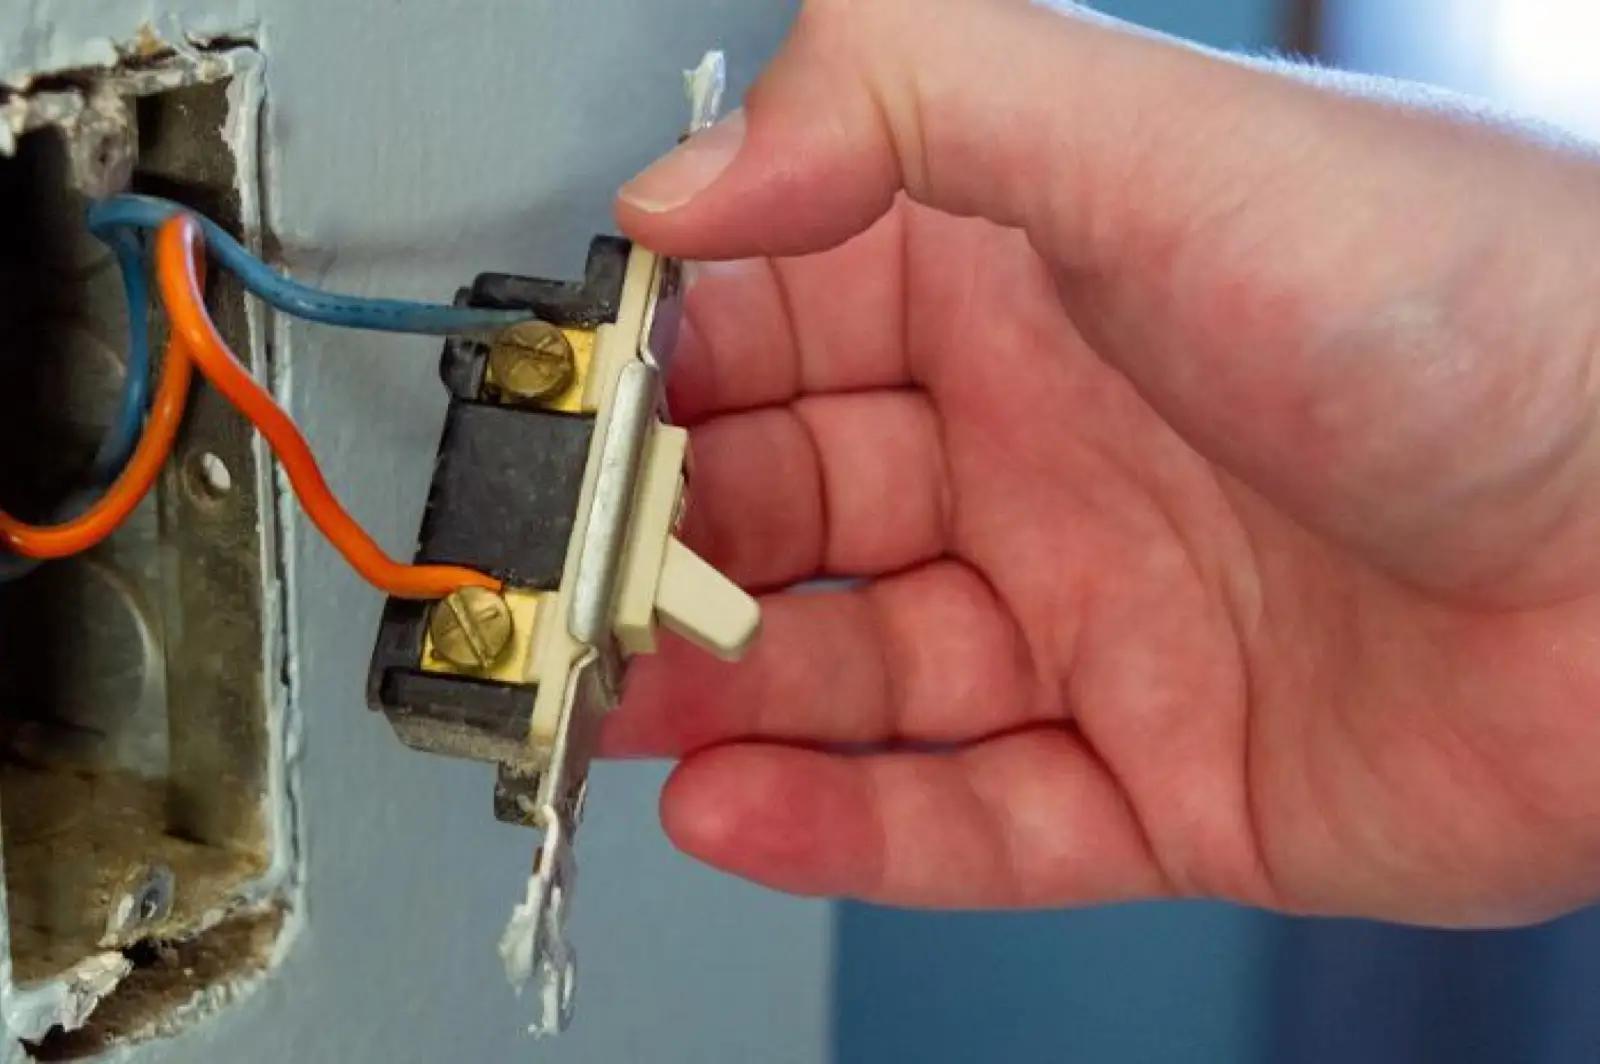
Remove the switch cover. Use a screwdriver to remove the plate, then gently pull the switch out of the wall.
-
Inspect the wiring. Check for loose or frayed wires. If any wires are disconnected or appear burned, that could be your issue.
-
Use a multimeter. Set your multimeter to the Continuity or Ohms setting.
-
Identify whether your light switch is single-pole or three-way. Single-pole switches have two side terminal screws, while three-way switches feature a “common” terminal and two “traveler” terminals.
- To test a single-pole switch, connect one multimeter lead to each terminal. A reading of 1 when you flip the switch on indicates the switch is working properly.
- For a three-way switch, place one lead on the common screw and the other on one traveler. When flipped on, the reading should show 1. Repeat the test on the other traveler. If the switch fails this test, it must be replaced.
-
If the switch is functional, carefully reinstall it. Don’t forget to turn the circuit breaker back on.
-
Call a professional. If the switch is functional, the source of the problem may lie elsewhere. If not, it needs replacement. In either scenario, a professional electrician is best qualified to resolve the issue.
Mr. Electric® provides professional light switch repair services to replace outdated hardware, update wiring, repair wall sockets, and more.
Should You DIY or Call a Pro?
Replacing a standard light switch might seem like a quick DIY fix, but safety should always be the top priority. Incorrect wiring or handling of electrical components can result in electrical shock and other hazards to yourself and your property.
A qualified electrician can replace your faulty switch and assess your electrical system for other underlying issues. If you’re upgrading to a smart switch or dimmer, expert installation ensures everything works perfectly and up to code.
Light Up Your Home Safely
So, do light switches go bad? Eventually, yes—and when they do, they shouldn’t be ignored. From flickering lights to warm wall plates, recognizing the signs of a failing switch can help you stay ahead of costly repairs and fire risks.
If it’s time for an upgrade, why not go modern? Your local Mr. Electric team can help elevate your home with advanced lighting control solutions that make life brighter, safer, and smarter.
Don’t stay in the dark. Schedule a switch repair or replacement service from Mr. Electric today!
This article is intended for general guidance only and is not applicable to every situation. You are responsible for determining the proper course of action for your property and situation. Mr. Electric is not responsible for any damages that occur as a result of advice and/or guidance derived from its blog content.
FAQs About Failing Light Switches
The safety of you, your family, and your home are the top priority of every Mr. Electric service professional. Our safety-first commitment to solving your electrical issues includes a meticulous attention to detail on every job. Our commitment also includes using our years of experience to answer your questions. Below are answers to some of the most frequently asked questions about how to tell if a light switch is bad.
Can a light switch go bad over time, even if it’s rarely used?
Yes. Even infrequently used switches can degrade due to environmental factors like humidity, dust, or poor initial installation. Internal components can also corrode or wear out over time, leading to failure.
How can you tell if a light switch is bad without removing the wall plate?
If a light switch is failing, you may observe symptoms like:
- Lights flickering or not turning on
- A switch that feels hot
- Audible buzzing when in use
If you notice any of these indicators, the switch might be bad and should be inspected by a professional.
What’s the safest way to test a light switch if I’m not an electrician?
To test a light switch, turn off the power at the panel and use a non-contact voltage tester to ensure the switch is not live. Then, remove the faceplate and visually inspect for damage. If you have experience with a multimeter, test the terminals for current.
When should I call an electrician for a light switch issue?
Call an electrician for any of the following light switch issues in a:
- The switch sparks, buzzes, or smells like burning
- The wiring looks damaged or burnt
- If you're not sure whether the issue is the switch or another component
Electrical safety is serious business. If you're ever unsure, don’t take chances—contact an expert.
What are the risks of a faulty light switch?
Light switches typically fail due to age and component wear and tear, possibly leading to short circuits and increased energy consumption if the switch will not turn off. In some cases, wiring issues can cause arcing and overheating, which presents a potential risk of fire or electrical shock. Finally, a faulty light switch will likely fail a code inspection.
Can I upgrade my faulty light switch?
A malfunctioning light switch presents a great opportunity to upgrade to a modern model. If you’re already replacing the switch, consider options like:
- Smart switches: Control lights remotely and set schedules.
- Dimmer switches: Adjust brightness to save energy and enhance mood.
- Motion sensor switches: Add convenience and security to hallways or bathrooms.
Not sure where to start? Your local Mr. Electric team provides light switch installation services to help make your home smarter, safer, and more energy-efficient.