Mr. Electric explains how to safely replace a fluorescent light ballast.
|
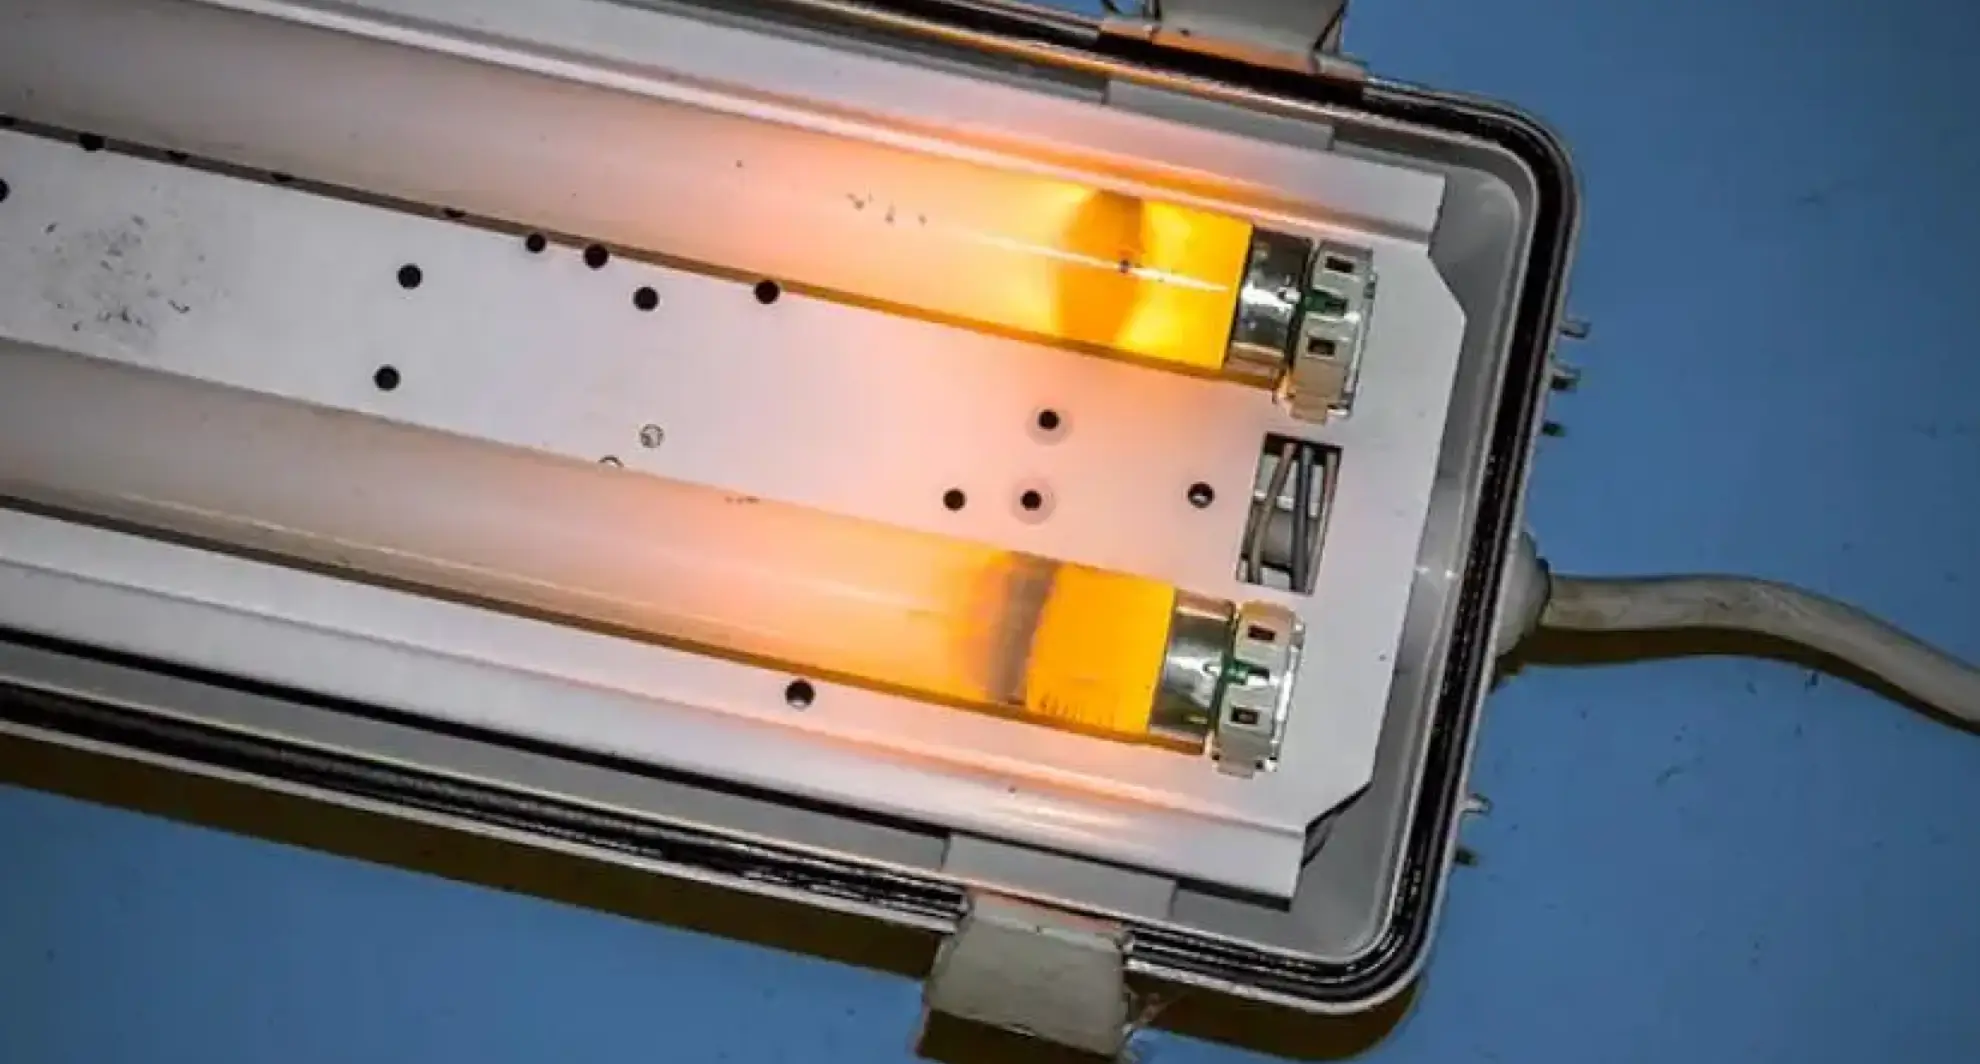
Are you tired of flickering, humming fluorescent lights? Before you toss the entire fixture, consider a fluorescent light ballast replacement. Fluorescent lights need a ballast to produce light, and the ballast regulates the amount of electricity flowing to the bulb. Replacing this component will return your fluorescent lights to optimal operation, and the task can take as little as 10 minutes.
If you don’t know how to replace a light ballast, don’t worry! The pros at Mr. Electric® have you covered.
How to Replace a Fluorescent Light Ballast
Following the easy-to-follow 15 steps
Step 1: Gather tools and materials
Make sure you have everything you need before starting your project.
Materials Needed:
- Voltage tester (non-contact)
- Wire cutter/stripper
- Wire nuts
- Socket wrench
- Gloves
- Smartphone/camera
Step 2: Cut power
Before you begin any work, cut the power to the light fixture. If possible, unplug the fluorescent light fixture. If that's not an option, turn the off power to the fixture at the circuit breaker. You should never perform electrical work on any fixture that’s still active to avoid the risk of electrical shock.
Step 3: Remove the fixture cover
If your fixture has a clear plastic lens, remove the cover. If your fixture has a framed lid, locate the clasps that allow you to swing the lens open.
Step 4: Remove the fluorescent light tubes
Twist the bulbs about 90 degrees to disconnect them from the socket. Gently tug down to remove the bulbs from their contacts. While you're in there, check the sockets to ensure they’re in good condition—tighten or replace them as needed.
Step 5: Take off the cover plate
In order to expose the wires, you’ll need to remove the wiring cover plate. Locate the tabs securing the cover, squeeze the sides to release them from the slots, and pull down to remove the cover.
Step 6: Check for voltage
Safety is key. Before you touch any wires or connections, ensure that there’s no power flowing to the fixture by using a non-contact voltage tester.
Step 7: Take a picture
Take a photo of the wiring setup to reference when hooking up the new ballast. This is a simple but effective step to ensure the replacement goes smoothly.
Step 8: Disconnect the ballast wires
Carefully disconnect each ballast wire by either removing the connectors or cutting the wires close to the ballast.
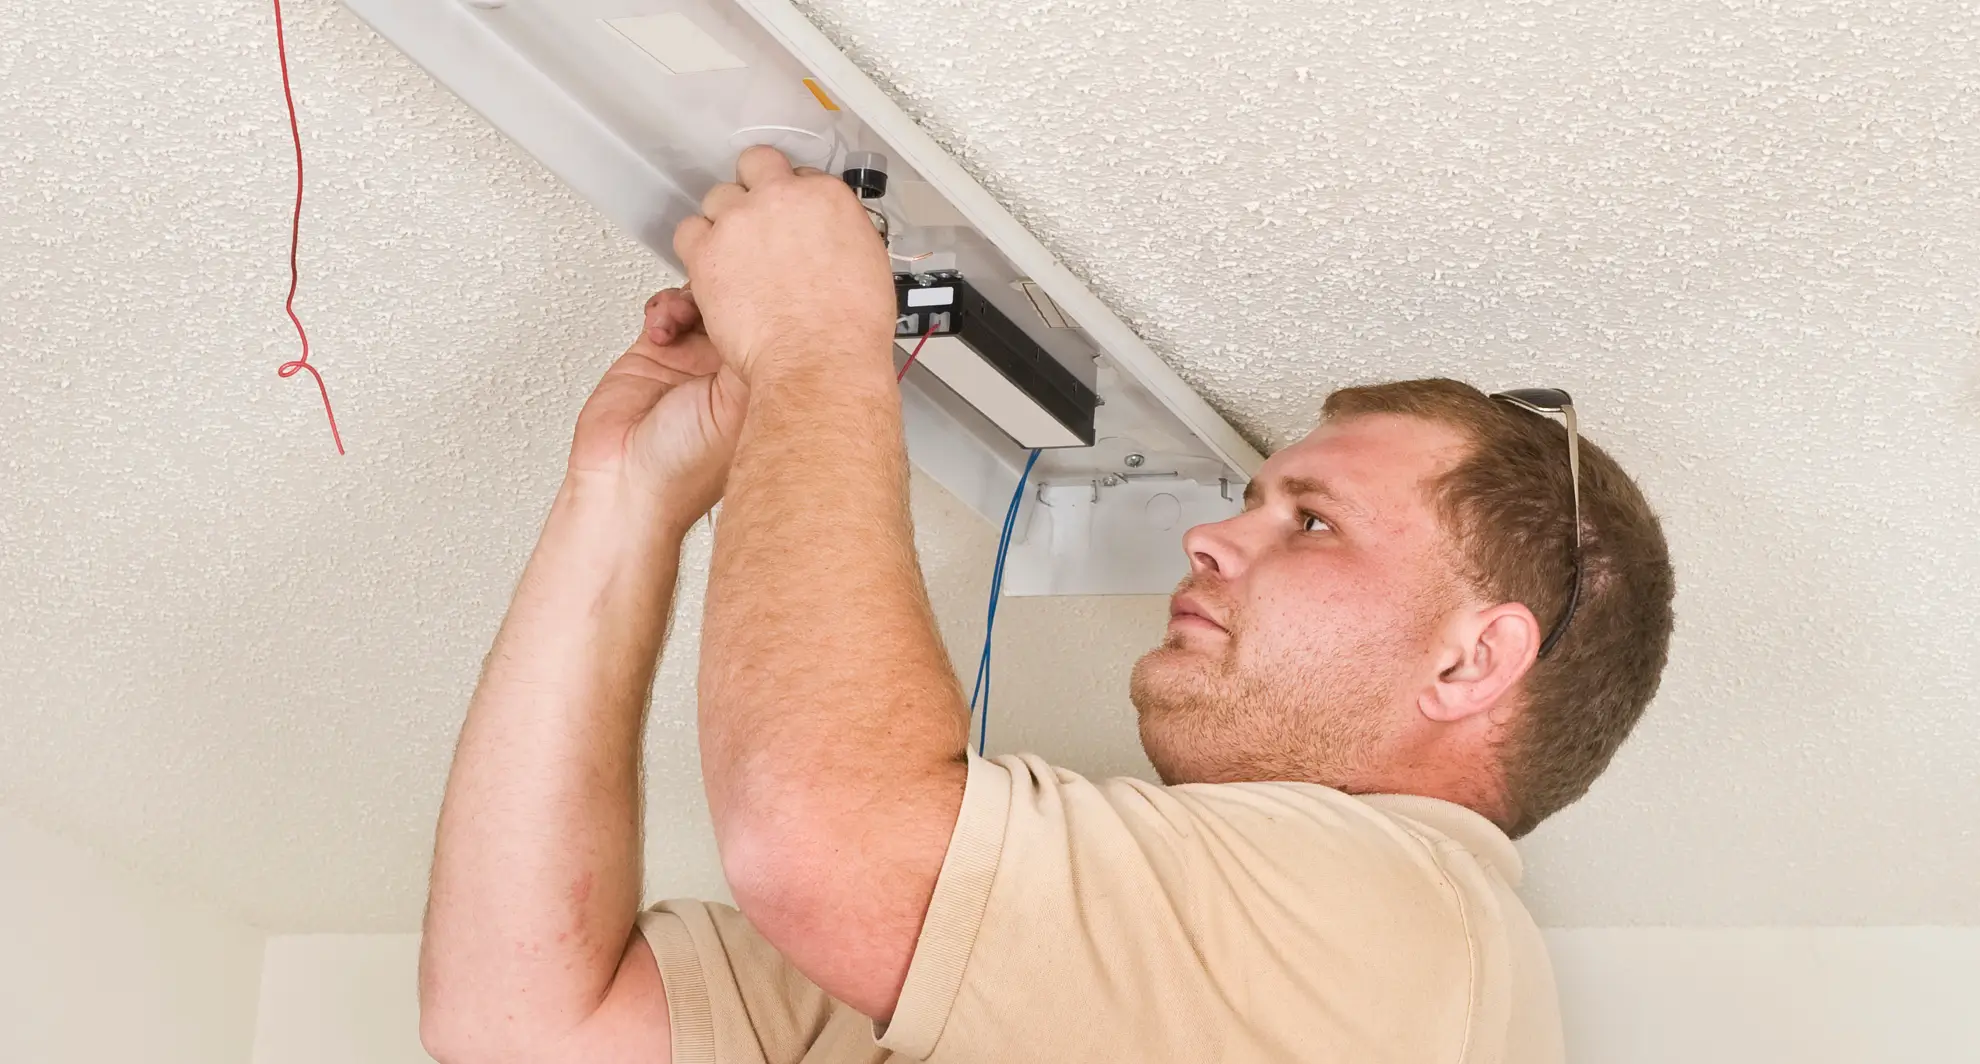
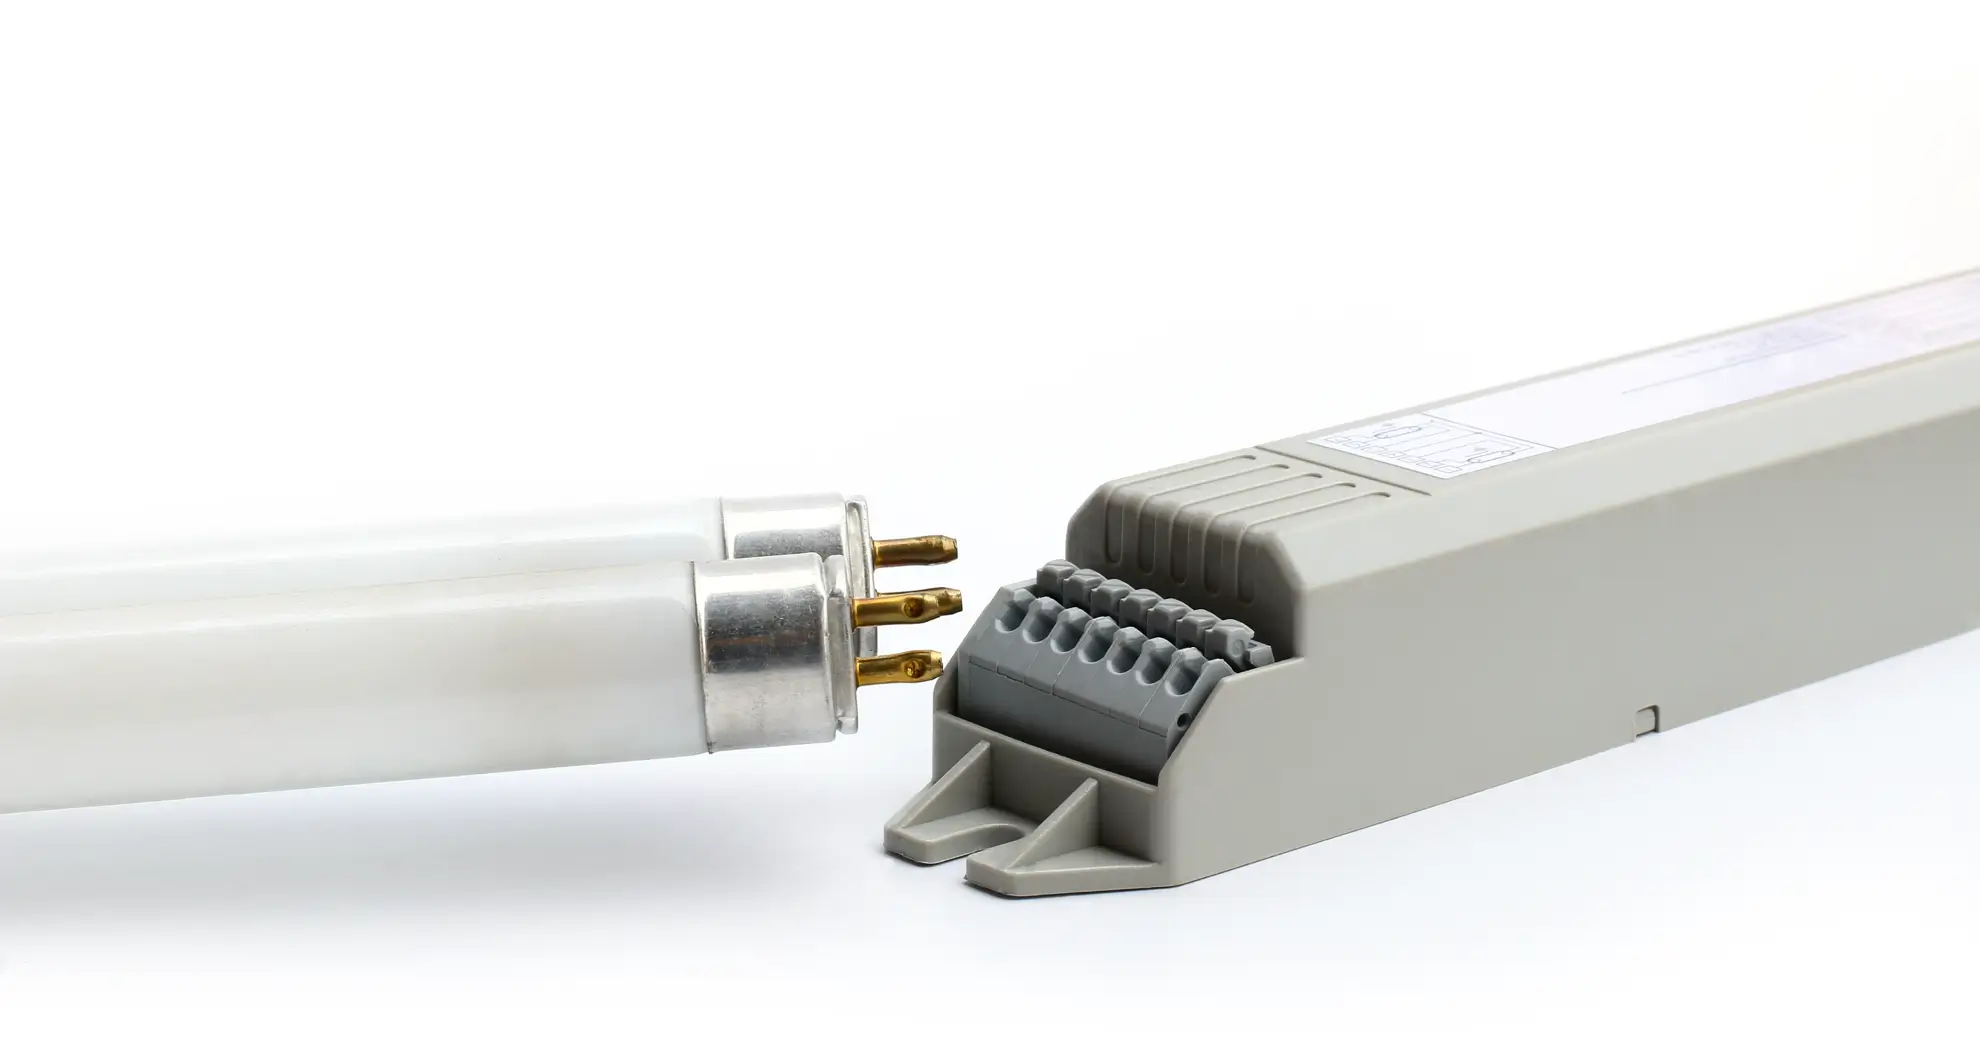
Step 9: Remove the ballast
Support the ballast with your hand to prevent it from falling. Use your socket wrench to remove the mounting hardware that holds the ballast in place. Once unmounted, take out the ballast from the fixture.
Step 10: Find and purchase a replacement ballast
Take the part number from the old ballast or the ballast itself to a lighting supply store to purchase a replacement. Make sure the new ballast matches the wiring diagram, voltage, and current requirements of the original. It's a good idea to opt for an electronic ballast, which is more efficient and quieter than older magnetic ballasts.
Step 11: Prepare wires for the new ballast
Use your wire strippers to remove any damaged or crimped portions of the ballast wires. Strip about ½-inch of insulation from the ends of the wires to prepare them for connection to the new ballast.
Step 12: Install the new ballast
Mount the new ballast to the fixture using the same mounting hardware and your socket wrench. Connect the new ballast wires to the fixture using wire nuts, referring to the photo you took earlier to ensure proper wiring alignment.
Step 13: Reinstall light components
Once the ballast is installed, put the wiring cover plate back in place. Then reinstall the fluorescent bulbs and replace the fixture lens to complete the setup.
Step 14: Restore power and test
Turn the circuit breaker back on or plug in the fixture to restore power. Test the fixture to ensure the new ballast is working properly and that the lights are functioning as they should.
Step 15: Dispose of the old ballast carefully
Old ballasts made before 1979 may contain polychlorinated biphenyls (PCBs), a known environmental toxin. If the ballast is leaking a black, tar-like substance, handle it carefully to avoid skin contact. Always take old ballasts to a certified hazardous waste recycling site for safe disposal.
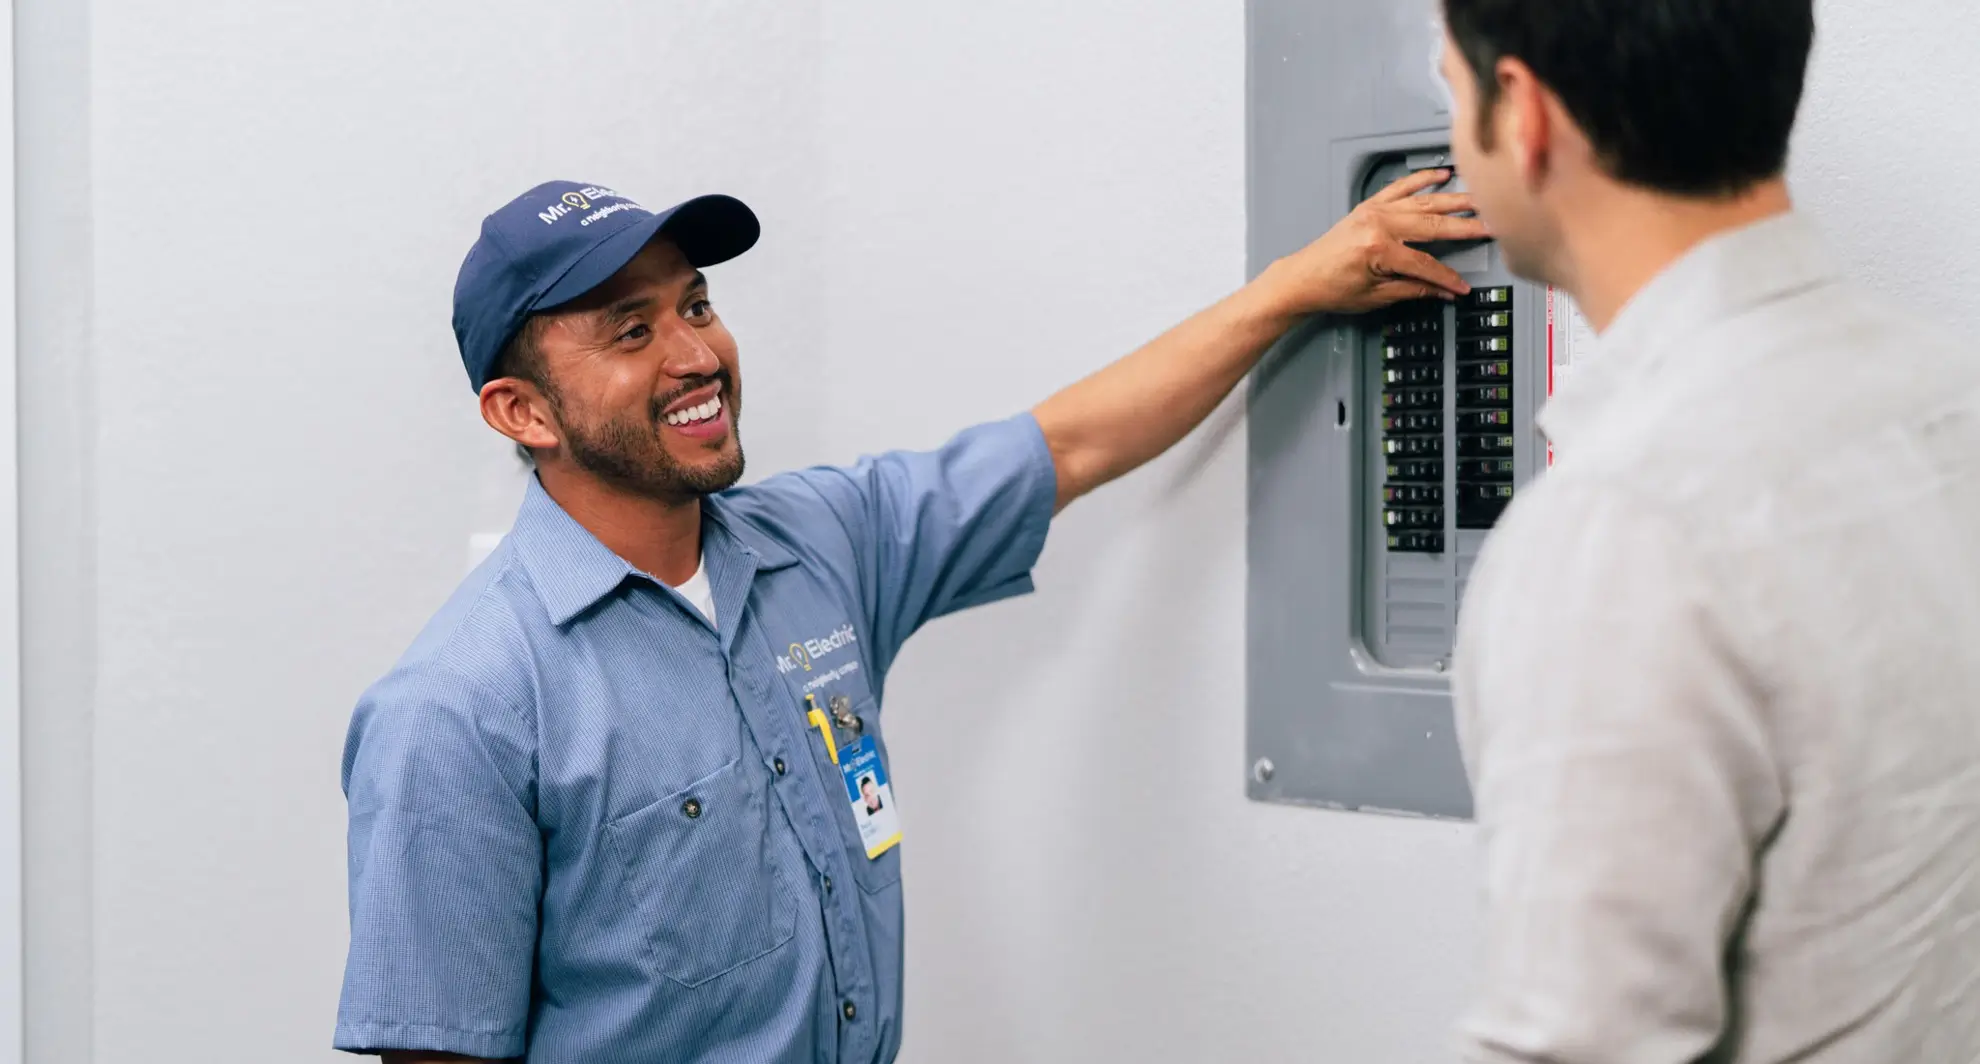
Count on Mr. Electric for Lighting Repairs and Installations
If you're unsure how to replace a fluorescent light ballast or dealing with lighting issues at home or in your business, the service professionals at Mr. Electric are here to help.
Backed by our Neighborly Done Right Promise®, our electricians ensure every job is done right, from simple lighting upgrades to complete electrical system rewiring. Schedule an appointment or give us a call today for reliable, professional electrical service.
This article is intended for general guidance only and is not applicable to every situation. You are responsible for determining the proper course of action for your property and situation. Mr. Electric is not responsible for any damages that occur as a result of advice and/or guidance derived from its blog content.
Some Mr. Electric services vary by location. Contact your local Mr. Electric franchise for more information.